March 30, 2015

Another Sugar and Spice


The Sugar and Spice Bag that I made for the Chris W Designs Facebook Sew Along sold immediately so I decided that I needed to make even more of these.  By the way, it is one of my most favorite bags, too, as well as one of my most favorite bag patterns to make.  And did I say very popular with my customers?  That is a bag trifecta!

After making the Bella bag in red faux leather, I decided to continue the theme of that same color shade and chose a geometric print I had in my stash.  I had recently bought a remnant of a solid that matched well coincidentally. (I love when that happens.) So, I used the solid for the handles as well as the piping that I only used on the pockets.


Bag front

The color of the bag is a little off in these pictures.  It is more of a maroon than a red.  The third picture shows the true color.


 Bag back

I love how the lining peeks out on this bag.  It makes you put as much thought into the lining fabric as the outside fabric.
Bag inside

There are four slip pockets on the outside of this bag and another four slip pockets on the inside.


Bag top recessed zipper

The bag closes on top with a recessed zipper.  That keeps everything secure and in your bag where it belongs.  All in all...I just love everything about a Sugar and Spice Bag.  If you haven't tried one of  Chris W Designs patterns, you are really missing out.  The bags turn out so professional looking and the patterns are chock full of directions and pictures that make them easy to follow.  You can get this pattern here.

March 26, 2015

The Ellory Bag, A New Pattern by Cozy Nest Designs


Today, I am excited to share with you a bag I tested and completed a few weeks ago.  It is the Ellory Bag by Sarah Gido of Cozy Nest Designs and it is being released today.

My first step was deciding on fabric.  This is always a fun part for me.  Here is what I came up with from my stash.  The flowered fabric would be the outside of the bag, the green fabric would be the lining and the faux leather would be the piping and the handles.


The pattern is clear and concise with lots of computer generated pictures that depict the steps so it is easy to see what you need to do.  The pattern pieces all connect into one long sheet and then you cut the pieces out from that.  There are suggested layout pictures for the fabrics with check boxes to mark when the piece has been cut.  In fact, the check boxes go throughout all of the directions so that you can check off the steps after you complete them.  It makes me feel like I am making progress when I mark them and it makes it very easy to find your place when you start sewing again after a break.  I love all of that.


And, I love the look of this bag.  It reminds me of a bowling bag and I like the shape of it.  The Ellory Bag is a good sized bag.  The finished size is 18" wide, 15" high and 4" deep.


There are three separate zipper openings on the top of this bag.  One on each side and one in the middle.  They lead to three separate compartments.  The two zipper openings on the side are made with 4 separate 11" zippers, but I chose to use two 22" double zips instead.


This next picture shows the bag with all three openings open.


The bottom of the bag has bag feet which take a while to find because of the print of my bag.


This pattern is available today.  You can find it on Craftsy here.  You can see some of the other testers' bags here.

March 25, 2015

Another March Bag of the Month, The Campfire Messenger in Lighthouse Fabric


I got another order from the customer who loves lighthouses.  She saw the blog on my Campfire Messenger Bag and really liked it and so wanted it in lighthouse fabric.  This is a bag from the Bag of the Month Club by Anna Graham of Noodlehead.  I love her patterns.  She does mostly totes but she hit a home run with this bag.


The pattern calls for straps with snaps to hold the flap closed but I love the look with thumb latch closures.  One day I will make this bag as written.


Under the flap is a zipper pocket and two large, pleated slip pockets.


The back of the bag has a large slip pocket.  I love the look of the binding trim on this bag.


The inside has two more slip pockets.  The bag closes with a recessed zipper.  To see my other Campfire Messenger Bag and complete review, go here.

March 21, 2015

Liliane Buckled Hobo Bag from Delinda Boutique.


A while back, I had the pleasure to test a new bag from Delinda Boutique, the Liliane Buckled Hobo Bag.  I am excited because I finally get to show it to you because the pattern is being released today.


This fun bag is very large.  It is 12 inches across at the narrowest point and increases to 18 inches across at the widest point.  It is 14 inches high.  The Liliane Bag can be made with your choice of fabrics and your level of desired slouchiness.  I used quilting cottons and wanted some body so I used fusible fleece on the inside and love the results.  If you want less body and more slouchiness just use interfacing.  If you want more structure and less slouchiness use headliner or soft and stable.  There are even directions on how to upcycle a sweater into the front pocket of this bag which is very cute.  Any large buckle can be used for the top flap closure (there is also a magnetic snap).  Some testers used brooches instead of buckles and that worked great, too.  My inspiration for this bag was a favorite dress that I had 30 years ago.  It was black and white striped with a red bow and I loved that little bit of red that jumped out at you.


The inside of this bag has a zippered pocket on one side and a slip pocket that can be divided in two on the other side.  It has a very roomy interior.


The Liliane Buckled Hobo is a fun and relatively quick bag to make.  You can find the pattern on Craftsy here and on Etsy here. 

March 20, 2015

Faux Leather Bella


I have been toying with the idea of making a Bella Bag from Chris W Designs out of faux leather.  I had just enough of one of my favorite dark red faux leathers left.  I can't find anymore of it since I got it at Norwalk Fabric Outlet last year and I bought the last yard and a half that they had.  I hated that by using this, it would be completely gone but I thought it would make for a great bag.


I really love this pattern.  The bag is comfortable to wear and it is very roomy without looking huge.  There is a huge slip pocket on the front of the bag and a zipper pocket on the back.  There are elasticized pockets on each side of the outside.


The inside has a zippered pocket with a slip pocket behind it on one side and a divided slip pocket on the other side.


I finished the front flap with a metal button that I love.  The faux leather I used here has a soft almost suede like feel so it moved along my machine well with no need for a teflon or walking foot.  I'm pretty happy with how it turned out.

If you haven't made this pattern yet, give it a try.  You can get the pattern here.

March 16, 2015

March Bag of the Month...The Campfire Messenger Bag


I finally got to make the March Bag from the Bag of the Month Club and I love it.  This pattern is from Anna Graham of Noodlehead.  It gave me the opportunity to use two more of the fabrics I bought at Norwalk Fabric Outlet.  I went with the brown with blue dots and the blue with brown dots.


The bag actually uses snaps and tabs as a closure but I chose to use thumb catches instead.  I love the look of them.  This bag measures 9.5" x 11.5" x 2.5".  It is a perfect size for me.  It also has an adjustable strap and so can be used as a shoulder bag or a crossbody bag.  I like that, too.


Under the flap, are two large pleated pockets and a zippered pocket.  These pockets are perfect for sunglasses, phone, etc.


The back of the bag has a slip pocket that is nice and deep.  This pocket is great for your phone, too if you want it more convenient so you don't have to open the flap to get at it.


The top of the bag is closed by a recessed zipper and there are two more slip pockets inside.

I love the look of the binding on this bag as the trim.  I don't normally like to do binding but this was relatively painless.

This bag went together rather easily and I love the professional look of it.  There may be more of these bags in my future.  Now I just have to wait until April 1st for the next bag pattern to show up in my mailbox.

March 13, 2015

Canvas Bucket Bags


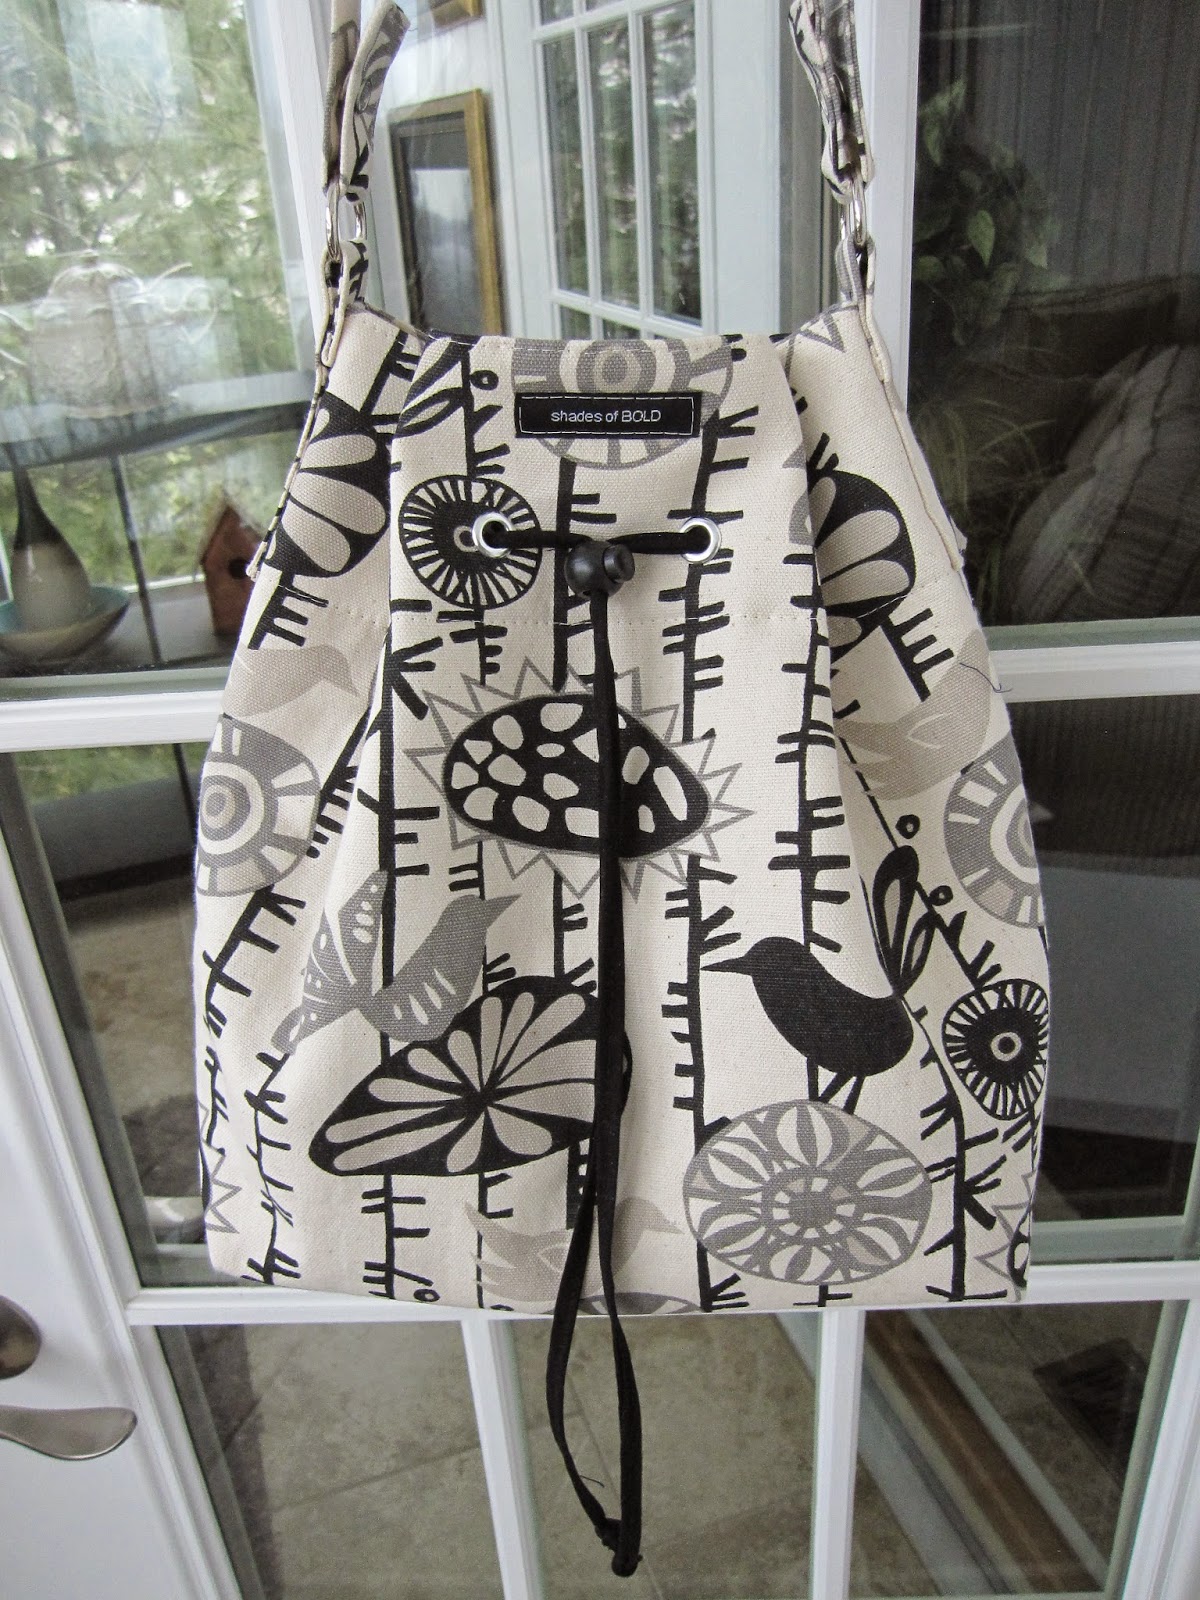
Well, it is finally time to show you a new bag tutorial that I am totally hooked on.  I have already made five of them and who knows how many more there will be.  I saw this tutorial on Sew Can She but it really comes from Sew 4 Home.  You can find it here.  It is the Canvas Bucket Bag.
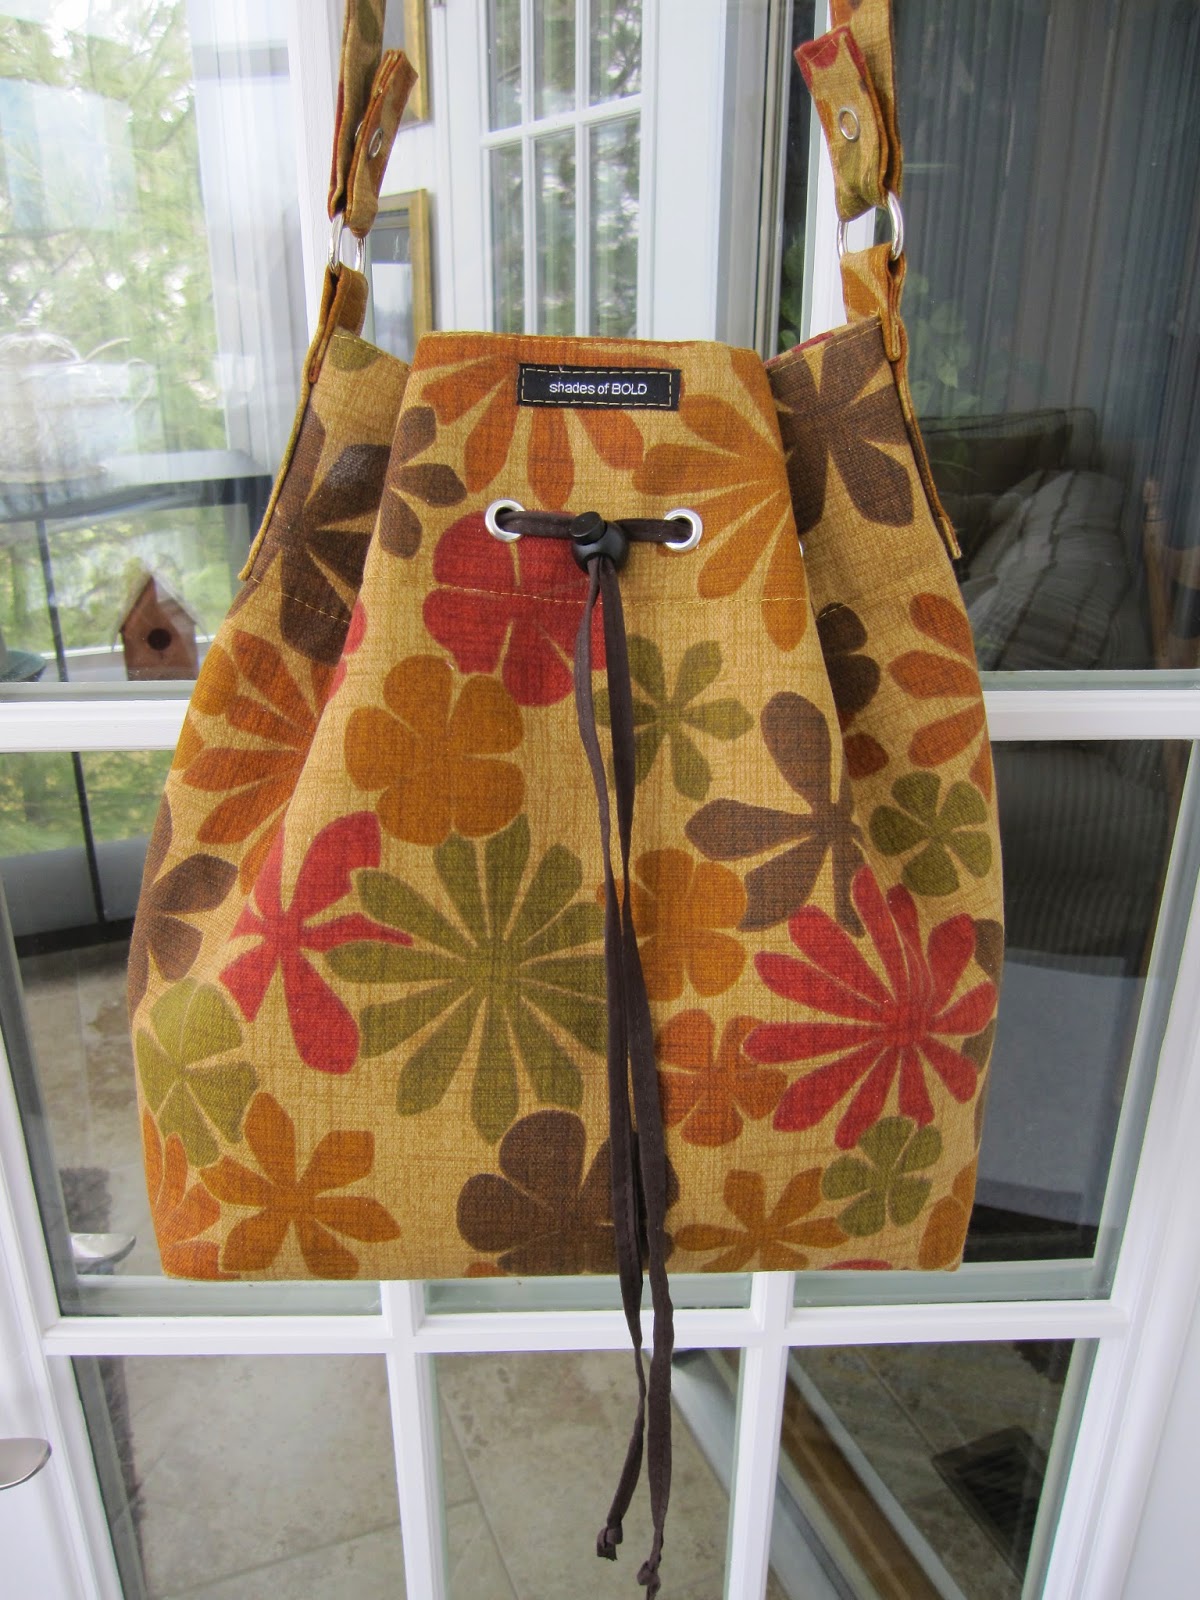

This bag is a fairly quick sew and I love how it turns out.  I used home dec fabric and I added Pellon SF101 to the exterior fabric for a little more body.  None of these bags are stuffed.  They are empty so you can see the body of them.


Inside is a big open space with no pockets.  I love that the bag opens completely so you can see everything.


I made this orange bag from the suedelike upholstery that I picked up at Norwalk fabric outlet. 


The bottom of the bag has bag feet and the strap has snaps that hook the strap to the bag and ones that allow the strap to be adjustable.  How clever is that?


The red dotted bag was made from some of the fabric I got at Norwalk Fabric Outlet, too.  I love the summery look of it.


This one reminds me of the 70's,  So retro.


 You can see how much room you have in this bag.  I just love the shape of it.

I have two completed test bags to show you when the patterns are released and I am currently making a new wallet pattern.  I just completed and delivered one more lighthouse Necessary Clutch Wallet to the same customer as the others.  She gifted the first one to someone who saw it and loved it .  Busy is fun when it is sewing busy!!!


March 10, 2015

Fabric Selections From Norwalk Fabric Outlet


If you read my blog from yesterday, I told you I would share my fabric selections from my trip to Norwalk Fabric Outlet.  This is what I came home with.

JUST FOR FUN


I couldn't pass up these dots!.  This is a heavier weight home dec fabric that is 54" wide.  I love that the first two sets are exact opposites of each other (pink with brown, brown with pink, blue with brown and brown with blue).  I have already used the red and white polka dots to make a bag I hope to show you before the end of the week.  This fabric has so much body.  The only color I left on the shelf was white with black dots!

BOLD FABRIC CHOICES

There were two fabrics that caught my eye because of the "shades of BOLD".  The one on the left is an orange heavier weight suede and the one on the right is multicolored upholstery fabric.  Both of these fabrics are also 54" wide.  I am currently sewing a bag with the orange suede that I will show you soon.


OTHER UPHOLSTERY FABRICS

I was selecting fabrics from all over the store.  It wasn't until I started taking these pictures that I realized that two of my upholstery fabrics went together perfectly.  What a happy surprise!  It looks like I planned it.  I guess I just liked the color palettes together.


FAUX LEATHERS

The main reason I went was to get some more faux leathers.  When I am experimenting with a new faux leather, I hate to pay top dollar for them.  These faux leathers cost only $6 a yard, and are 54" wide.  If they don't work out well, I'm not out that much.  I love that.  

The first group of faux leathers are very soft and buttery.  I got the only two colors they had in this feel.


The last group of  faux leathers I bought are heavier, with more substance.  I love the red one especially with the textured feel.  The one on the left is more of a caramel color than gold.


So there you have it.  19.25 yds  of goodies.  All at $6 a yard. 14 different selections for a total of $115.50 plus tax.

March 9, 2015

Norwalk Fabric Outlet, A True Treasure


Last week, the sun was shining, the snow wasn't falling, and I had the need for a road trip.  I knew exactly where I wanted to go.  I knew because I had been there twice before.  So, my hubby and I got in the car and drove an hour and forty-five minutes to Norwalk Fabric Outlet.


This outlet is a fun, friendly place to treasure hunt.  If you can read the sign on the front of the building, you see that all fabrics here are $6 a yard.  They specialize in upholstery, drapery and vinyls but also have some quilting fabrics.  Tomorrow, I'll show you all that I bought...too many pictures for one post!

The outlet has some larger rooms of rolls of fabric but there are also nooks and crannies that you need to check out , too.


Yes, those dotted fabrics are part of my haul.

They also have some precut fabrics in different lengths.  This is where you need to check all of the extra rooms in the outlet.


I didn't even show you the quilting area and the vinyl area or the front room.  How fun is this place???

Thanks to the great folks at Norwalk Fabric Outlet for all of the help.  What a friendly group of people.  Bev, the owner, Traci and Joey were so helpful.  My apologies to Joey who had to get all of the rolls off of the top shelves for me.  I really made him work.  Here he is cutting some of my vinyl.


If you live in the Northern Ohio area or are here for a visit, check them out.  You won't be disappointed.  You can find them at 124 East Main St, Norwalk, OH 44857.  They are open W,Th, F 10 - 5:30 and Sat 9 - 2.  Visit them at www.norwalkfabricoutlet.com or on facebook.

If you have any treasures like this in your neck of the woods, I sure would love to hear about them.  You never know how far I'm willing to travel.  Tomorrow, I'll show you my treasures....

March 5, 2015

The Paris Clutch and Another Order Completed


You will remember that I recently made a book cover with handles (see here).  It is a free pattern by Imazzpatterns  After making that, I looked at her other patterns and decided to make the Paris Clutch.  I have made other clutches but I thought this one was really cute.  I will make more.  The pattern is here.


The front of the clutch has a large zippered pocket.  It is large enough to hold my Samsung Galaxy X 5 and the even larger Otter Box cover it is in.  It makes it easy to get at my phone.


The back has a cute slip pocket closed by a snap.


This pocket is not big enough for my phone because of the snap but still can hold plenty like sunglasses, lipstick, etc.

Inside, there are card pockets.  She gives you two different ways to insert them...one way if you have an industrial machine that can handle the thickness and one way if you have a domestic machine that protests when sewing several layers.  I have a semi-industrial machine and had no problem with the layers.  The inside edges will have binding to cover the raw edges so keep that in mind when choosing which way to go.  By the way, these were the easiest card pockets I have ever made.  My only regret is that I didn't put them on the other side of the inside of the bag, too.


If you are looking for a clutch when you only need to take the necessities, this is a fun pattern.  I love how it turned out.  The only change I made was to lengthen the wrist strap a bit.  The finished size is 5.5" high and 10" wide.

I have been busy testing some bag patterns that I can't wait to show you and I just completed two Bucket Bags from a free pattern I discovered that I will post in the next day or two.  I, also, wanted to show you an order that I completed.  It is for the two women that bought the other bags that match this fabric.  I will deliver them tomorrow. They have been such great customers!  The wallet is Emmaline Bags' Necessary Clutch Wallet that you can find here.  The smaller one is The Get Carded Wallet by Dog Under My Desk. You can find the pattern here.